 Daniel
 deutsche Version anzeigen
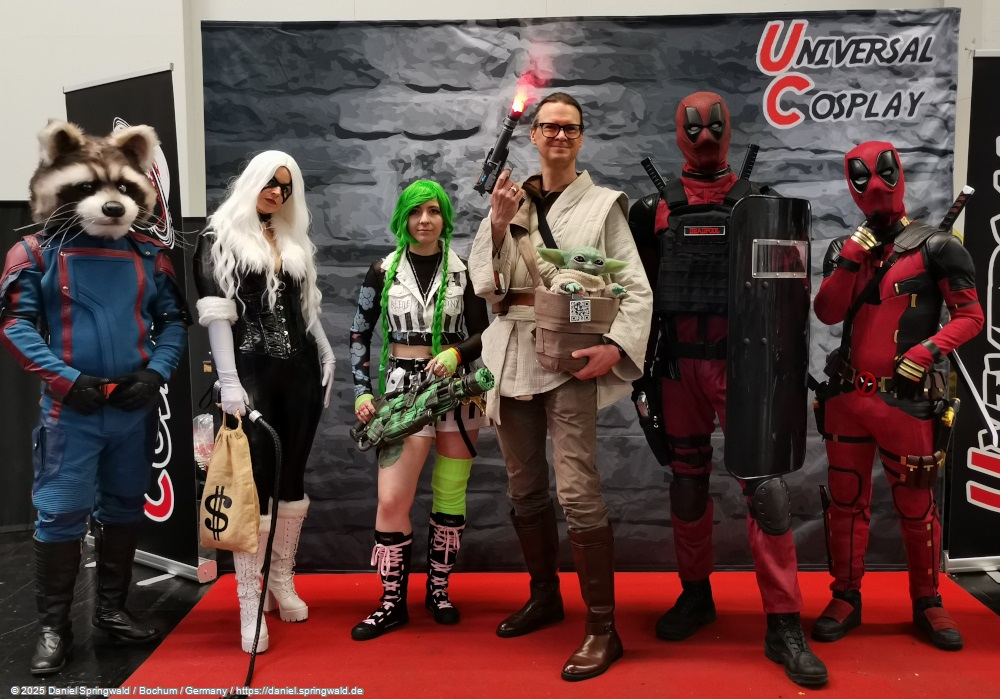
Among Star Wars collectors and cosplayers, lightsabers are now widely used. In addition to the usual toys from Hasbro and Co., there are many pretty real looking, highly professionally manufactured versions. But not every Star Wars cosplayer dresses up as a Jedi and uses lightsabers. Many also depict stormtroopers, bounty hunters or other characters. In addition to knives and sometimes quite exotic things, blasters are usually used as weapons. I'm currently working on an animatronic Nix from Star Wars Outlaws, which will sit on my shoulder one day. A suitable cosplay is an outlaw á la Kay Vess, who has the Nix as a sidekick at her side in the video game. So what better weapon than a blaster? So let's go 😀
3D Printing Files for the Blaster
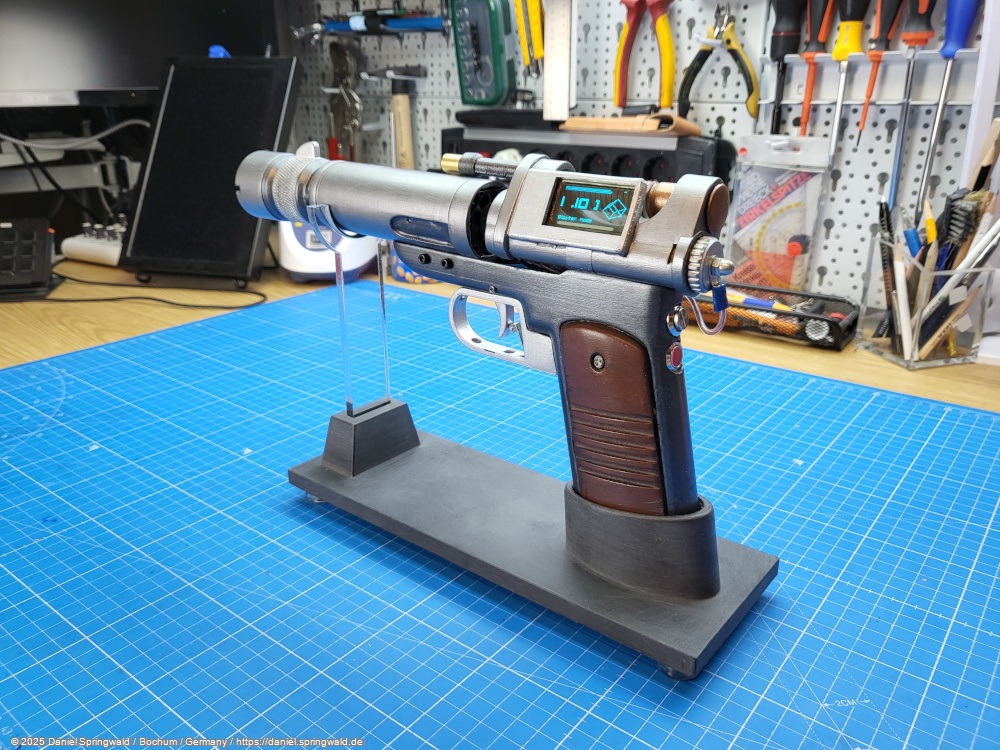
I'm not a good 3D designer. That's why I bought and adapted the 3D models for my last projects like the animatronic Grogu and PIP droid. You can also get such 3D print files for Key Vess's blaster, a "VM-19 heavy blaster pistol", for about 10 euros. I bought mine from 3d-mon.com.
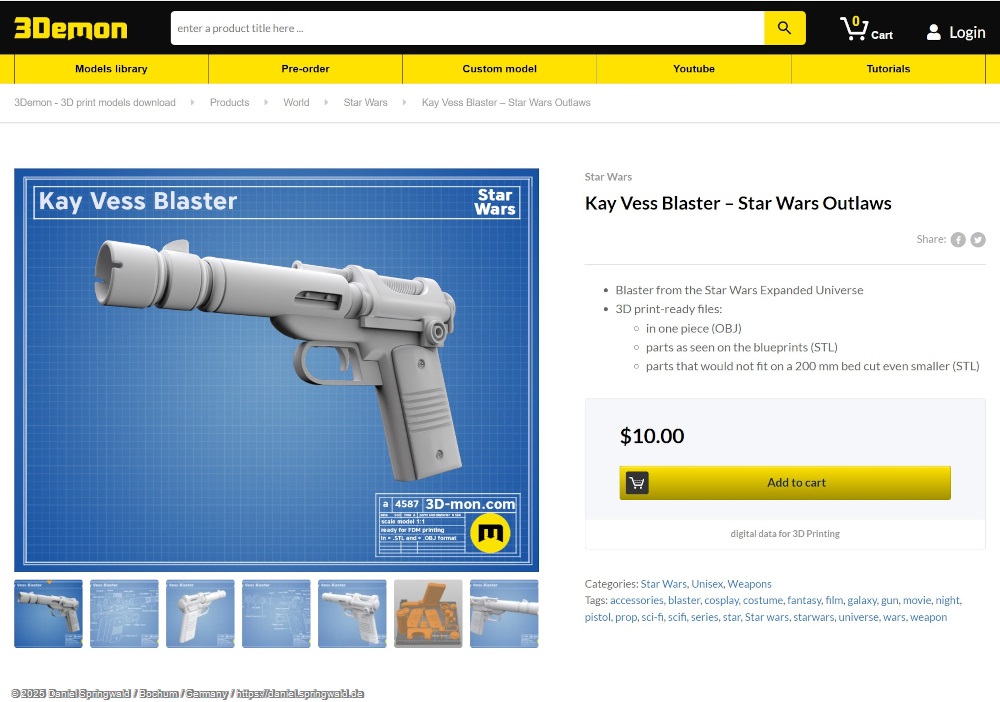
During a first test print, it was immediately noticeable that the handle of the model was unnaturally large and you can hardly grasp it. Therefore, I have reduced its length to 85%. Since the original files are intended for a static blaster, I had to make appropriate adjustments to accommodate the electronics and other components.
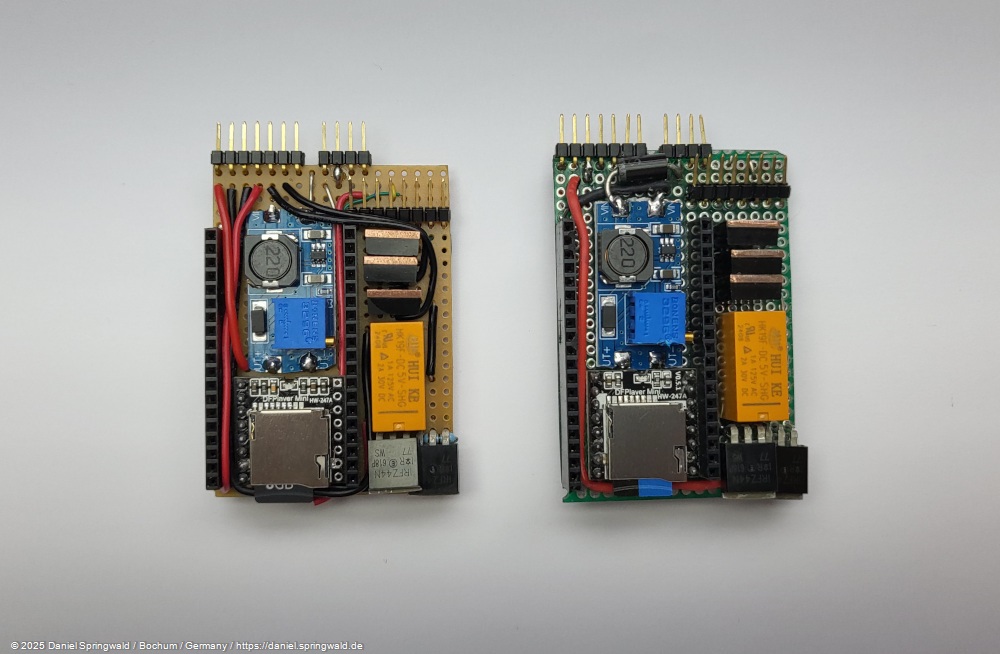
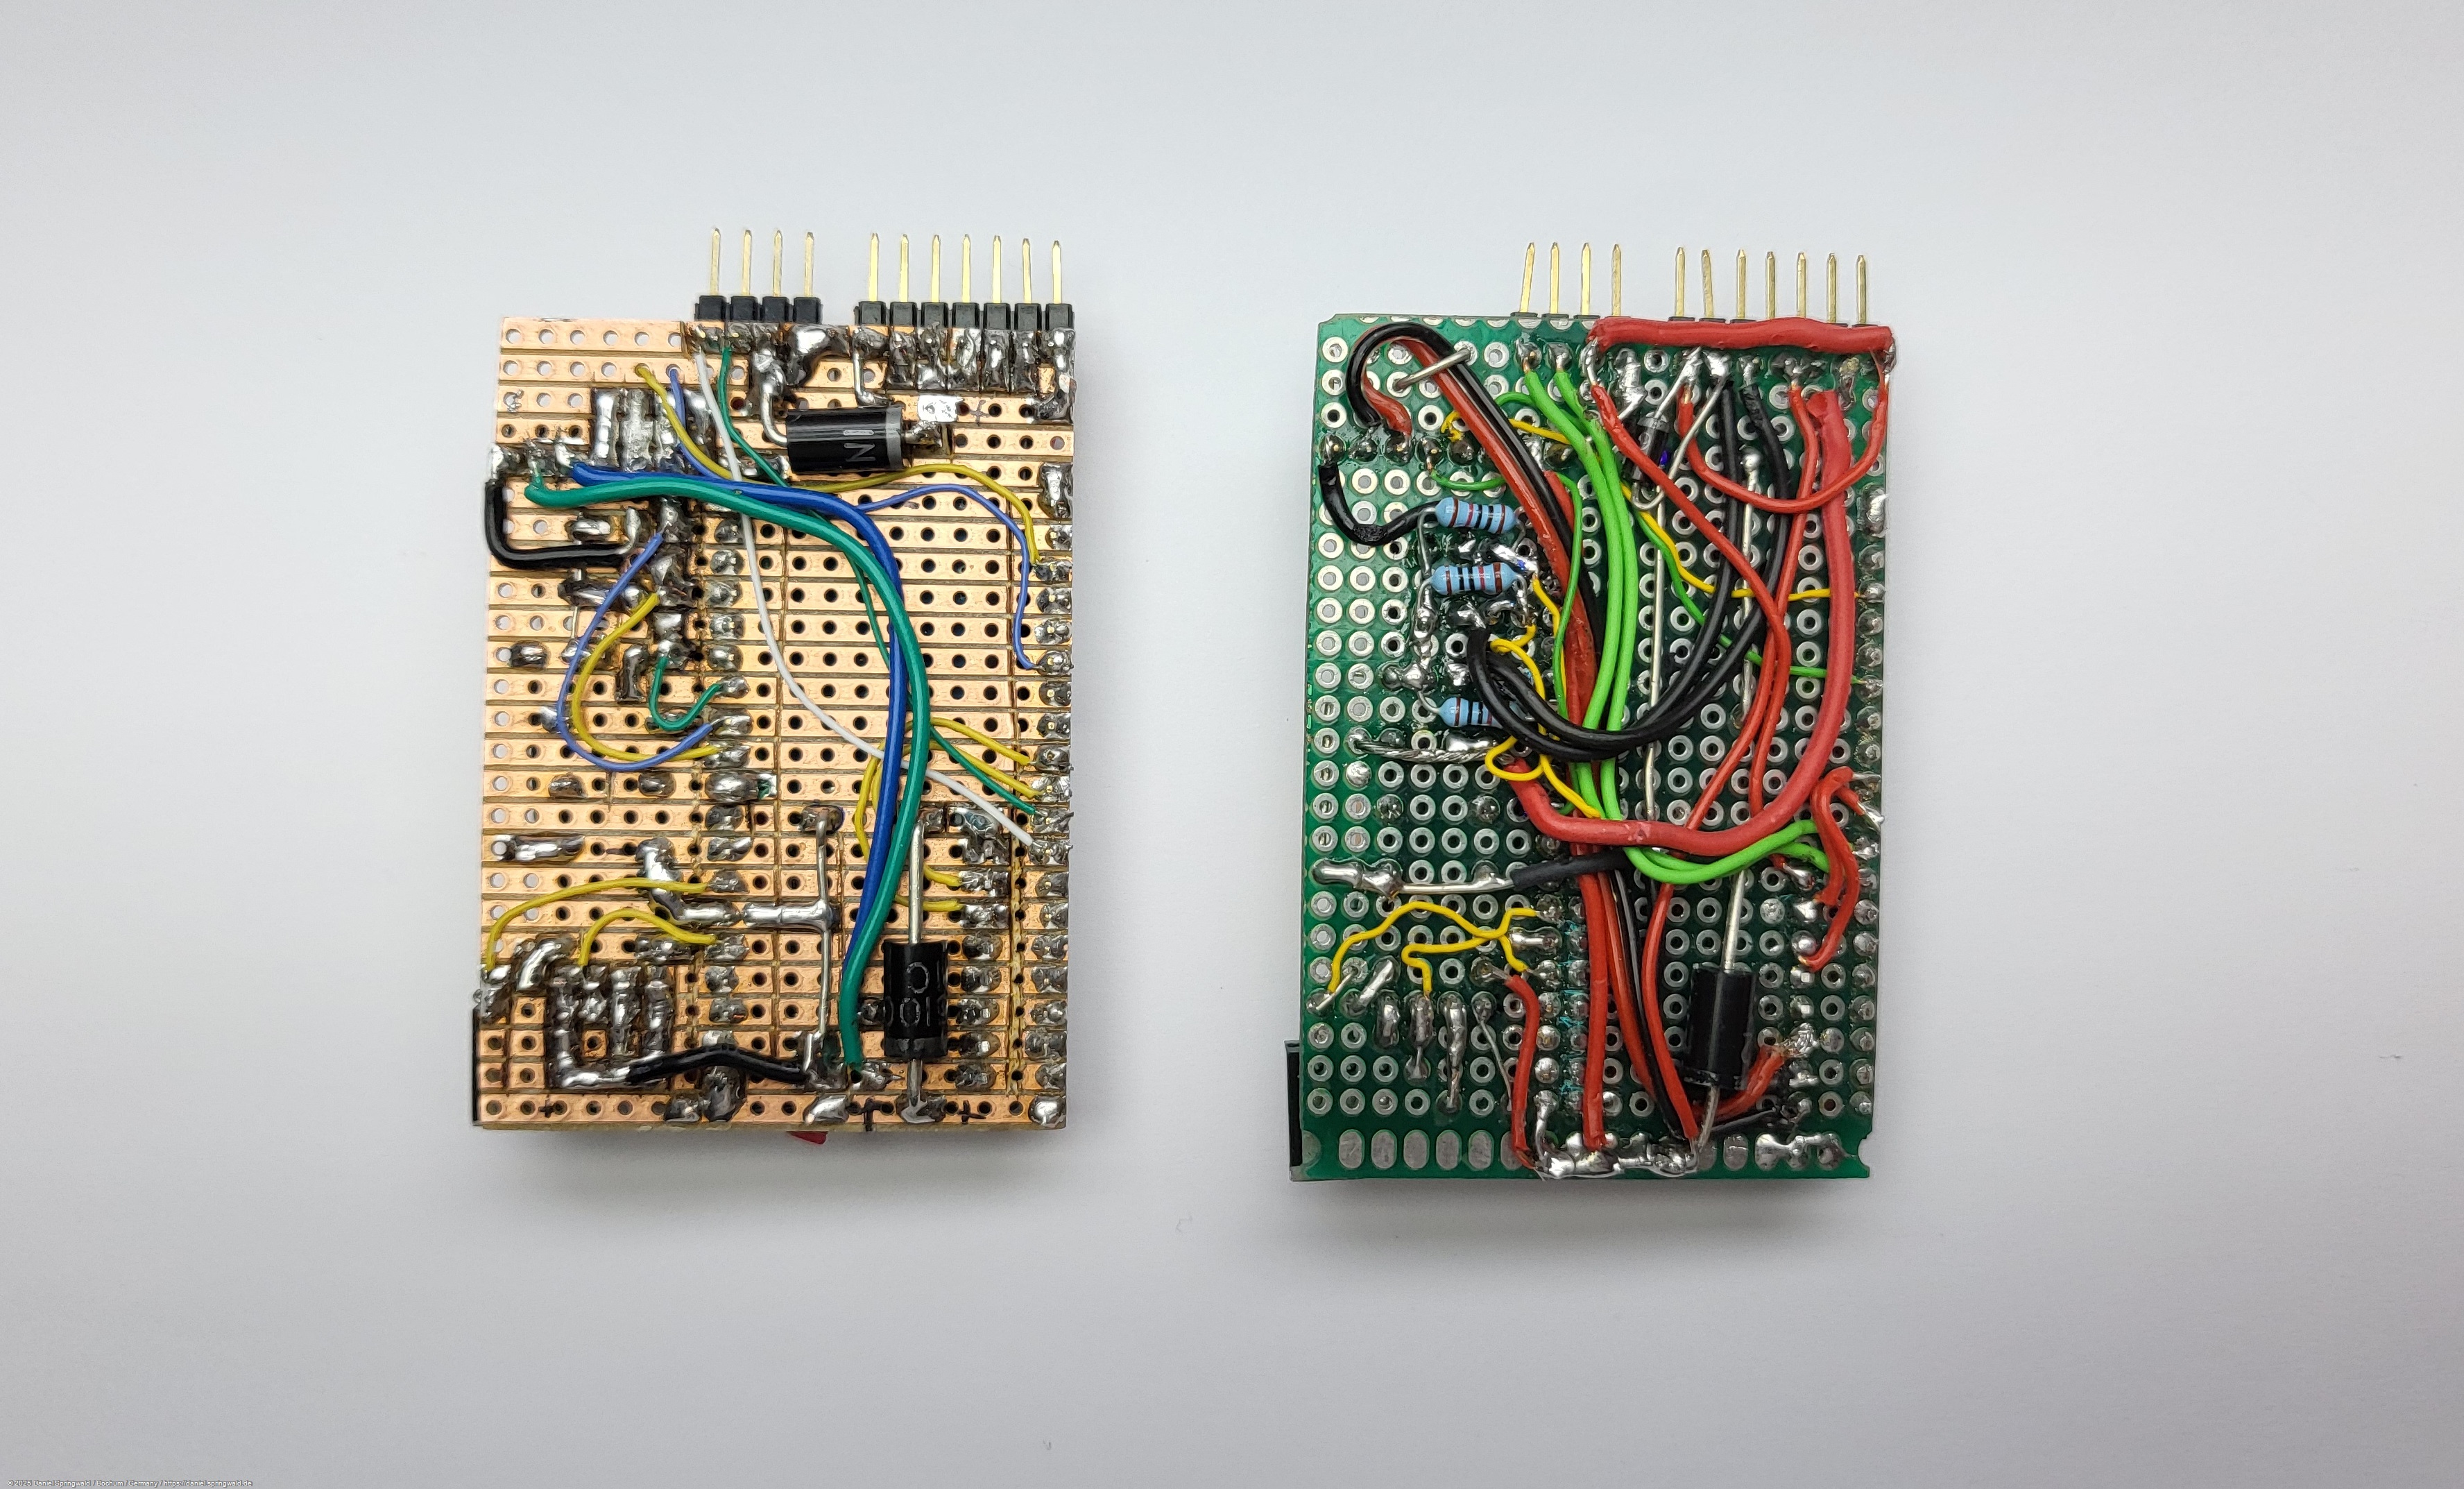
The electronics
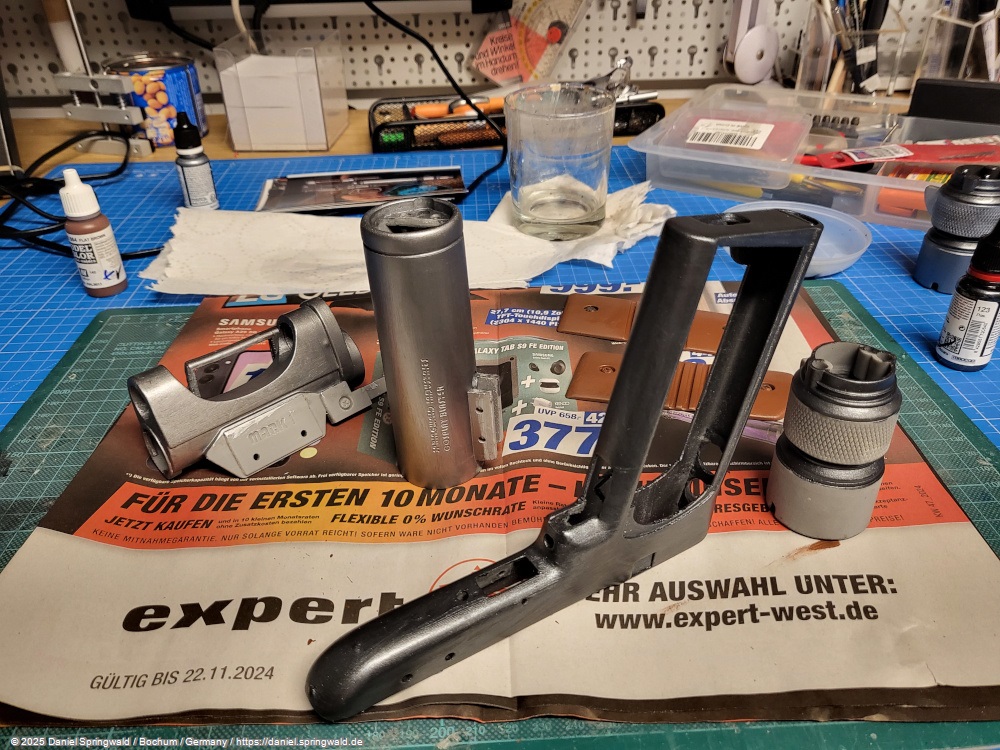
As a basis for the electronics, I decided on an ESP32, which is housed together with other components on a circuit board in the handle of the blaster. These include five Mosfet transistors to control the LEDs for the muzzle flash, air pump, fan, vape coil, and aiming laser.
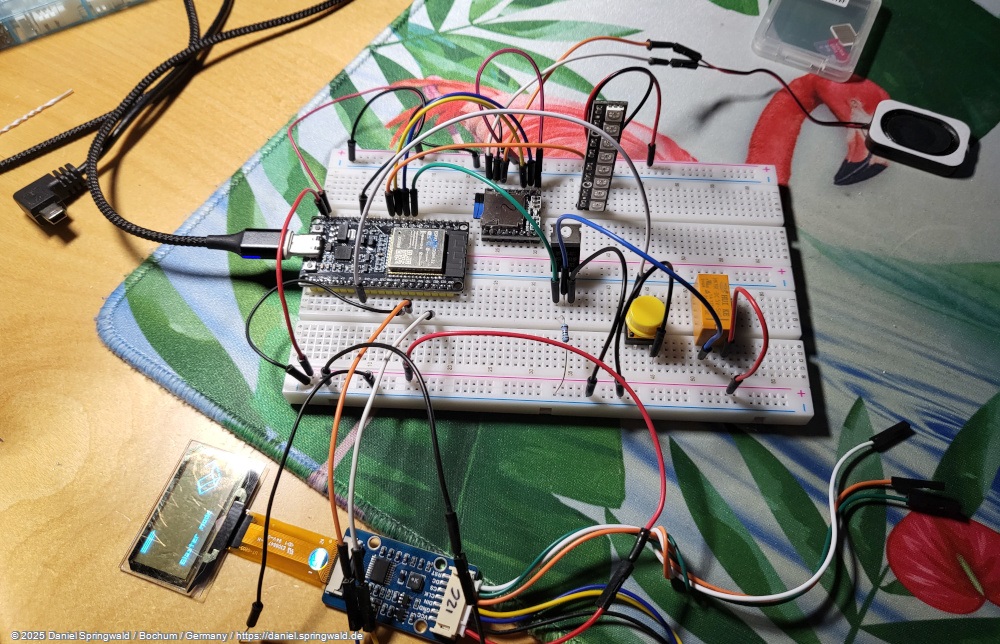
Since it was a bit tight in the handle, I had to try around a bit with the board to accommodate all components. The first version looked a bit wild in the end due to the multiple conversions, so I rebuilt the board again.
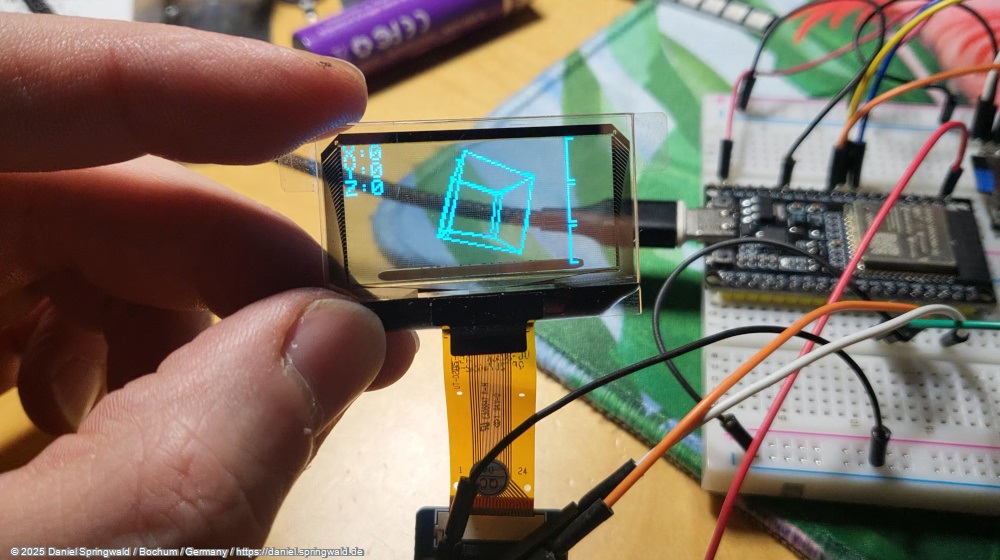
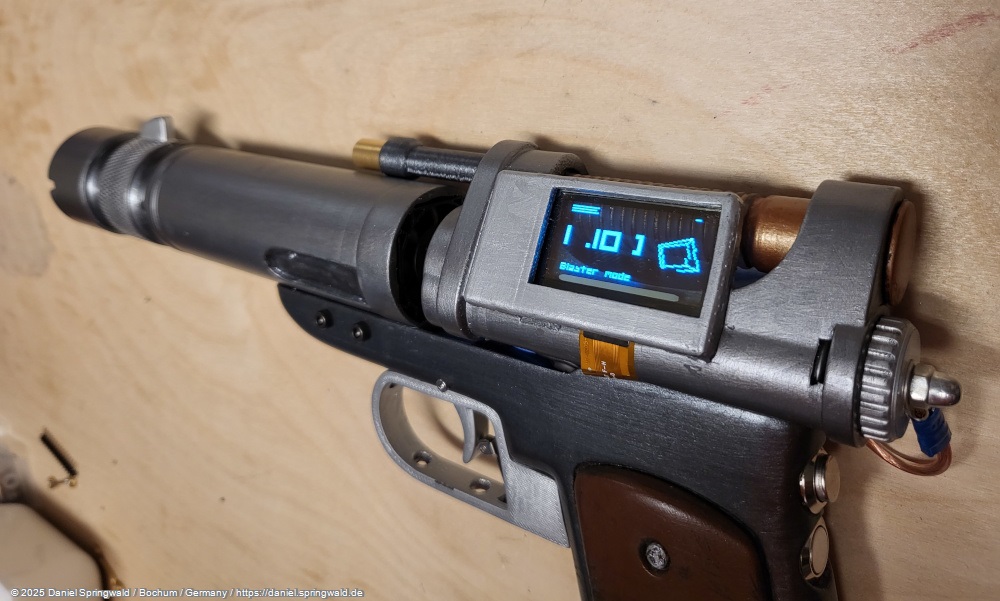
The "holographic" display
The original blaster from "Star Wars Outlaws" is rather robustly designed and has no display. But since I'm a fan of such gimmicks, I've integrated a small OLED display into the blaster that can display various information. I had a transparent OLED display left over from another project that I could use for this. Since I've noticed that many people now (incorrectly) refer to transparent displays as holographic, I decided to refer 😉 to the display as a "holographic display" as well.
The charging coil
In the game, the blaster has a kind of copper coil at the back. In my version, I implemented it as a transparent, 3D-printed cylinder, which I painted strips of copper paint on the outside. In addition, 8 RGB LEDs are installed, which are switched on one after the other. This makes it look like the coil is charging slowly.
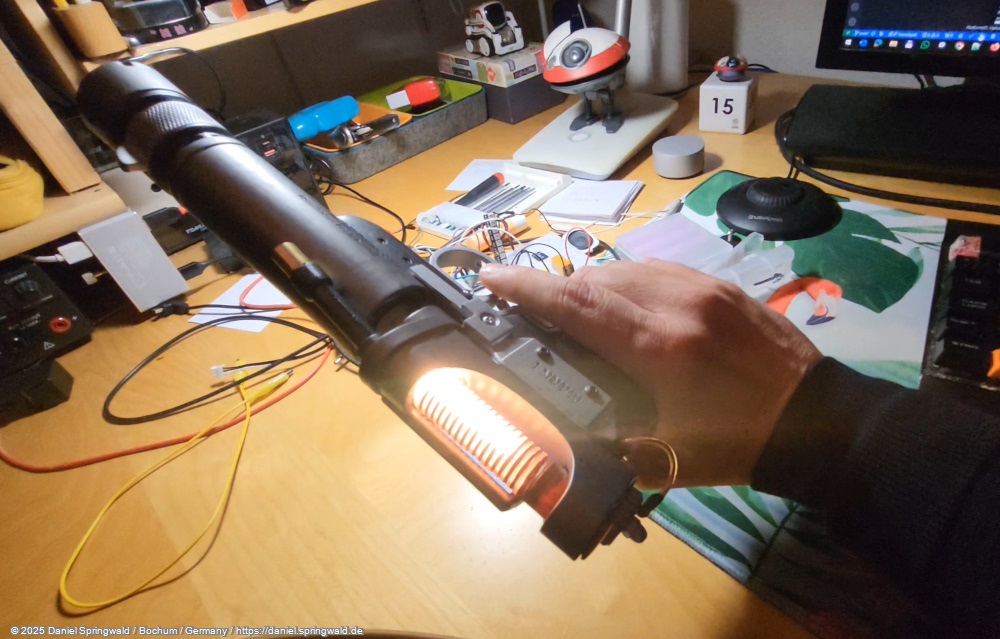
The Smoke Generator
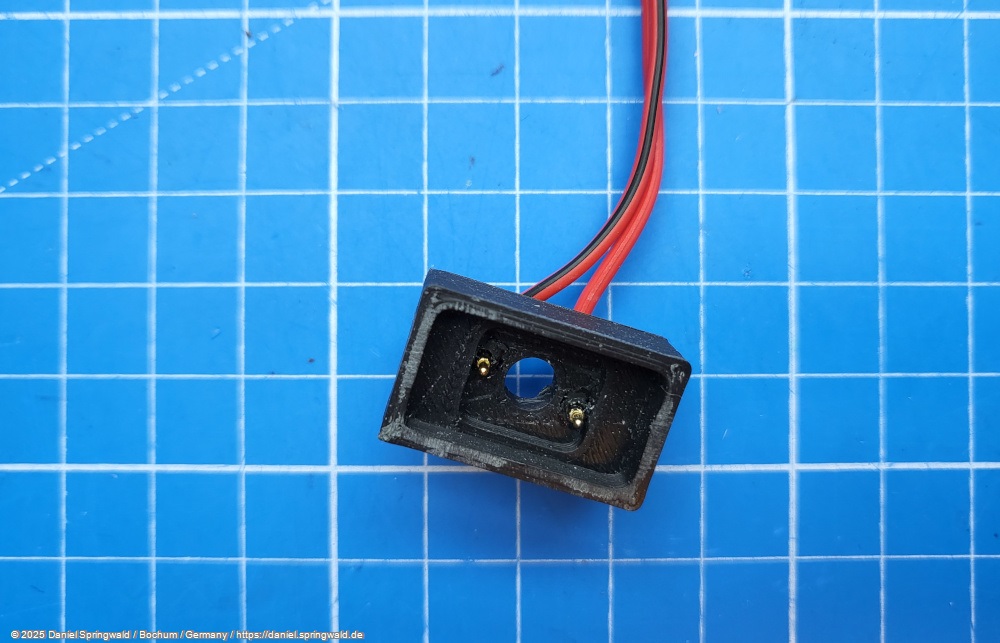
The most exciting component is certainly the smoke generator. For this, I used a vape coil that is inserted into a 3D-printed holder and held in place by magnet. The coil is supplied with power via two spring contacts.
The coil is filled with a special liquid that evaporates when heated and produces smoke. With real "vaping" you have to suck on the mouthpiece, otherwise nothing happens. Therefore, there is still a small diaphragm air pump on the bracket, which blows air through the coil from below, causing smoke to escape at the top.
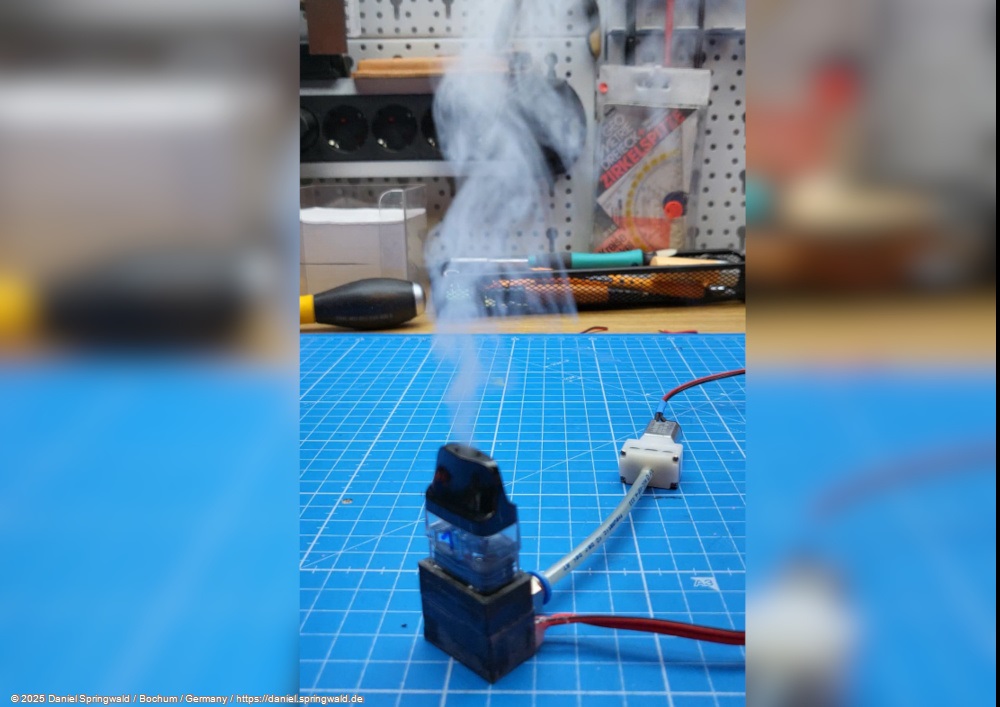
A small fan then accelerates the smoke again and blows it up from the front of the barrel.
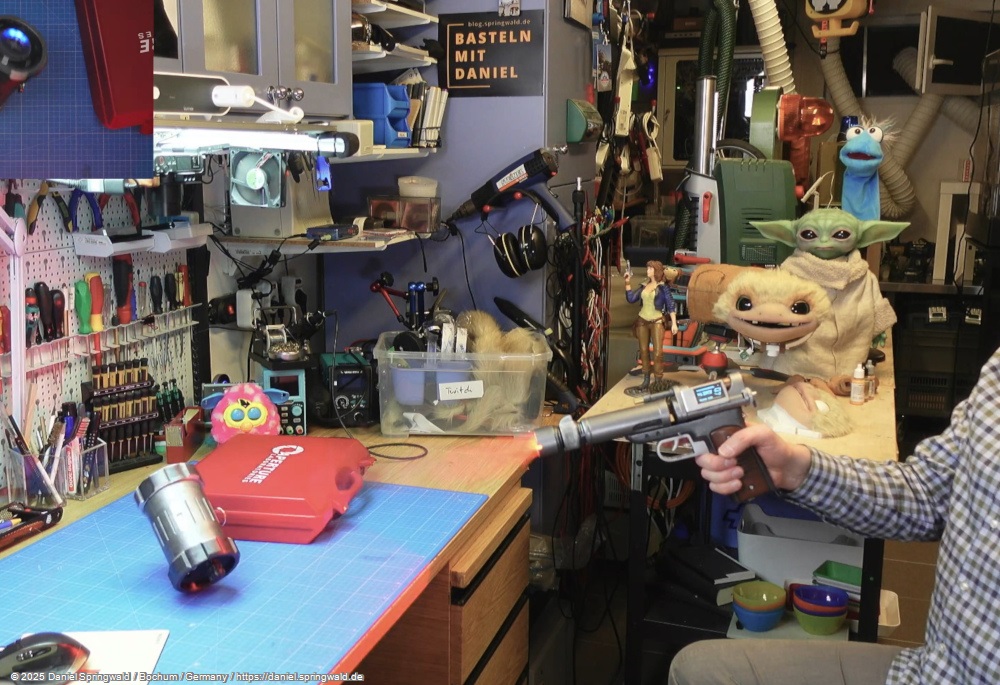
High-performance LED for muzzle flash
At the very front of the barrel is a 3-watt LED that simulates the muzzle flash.
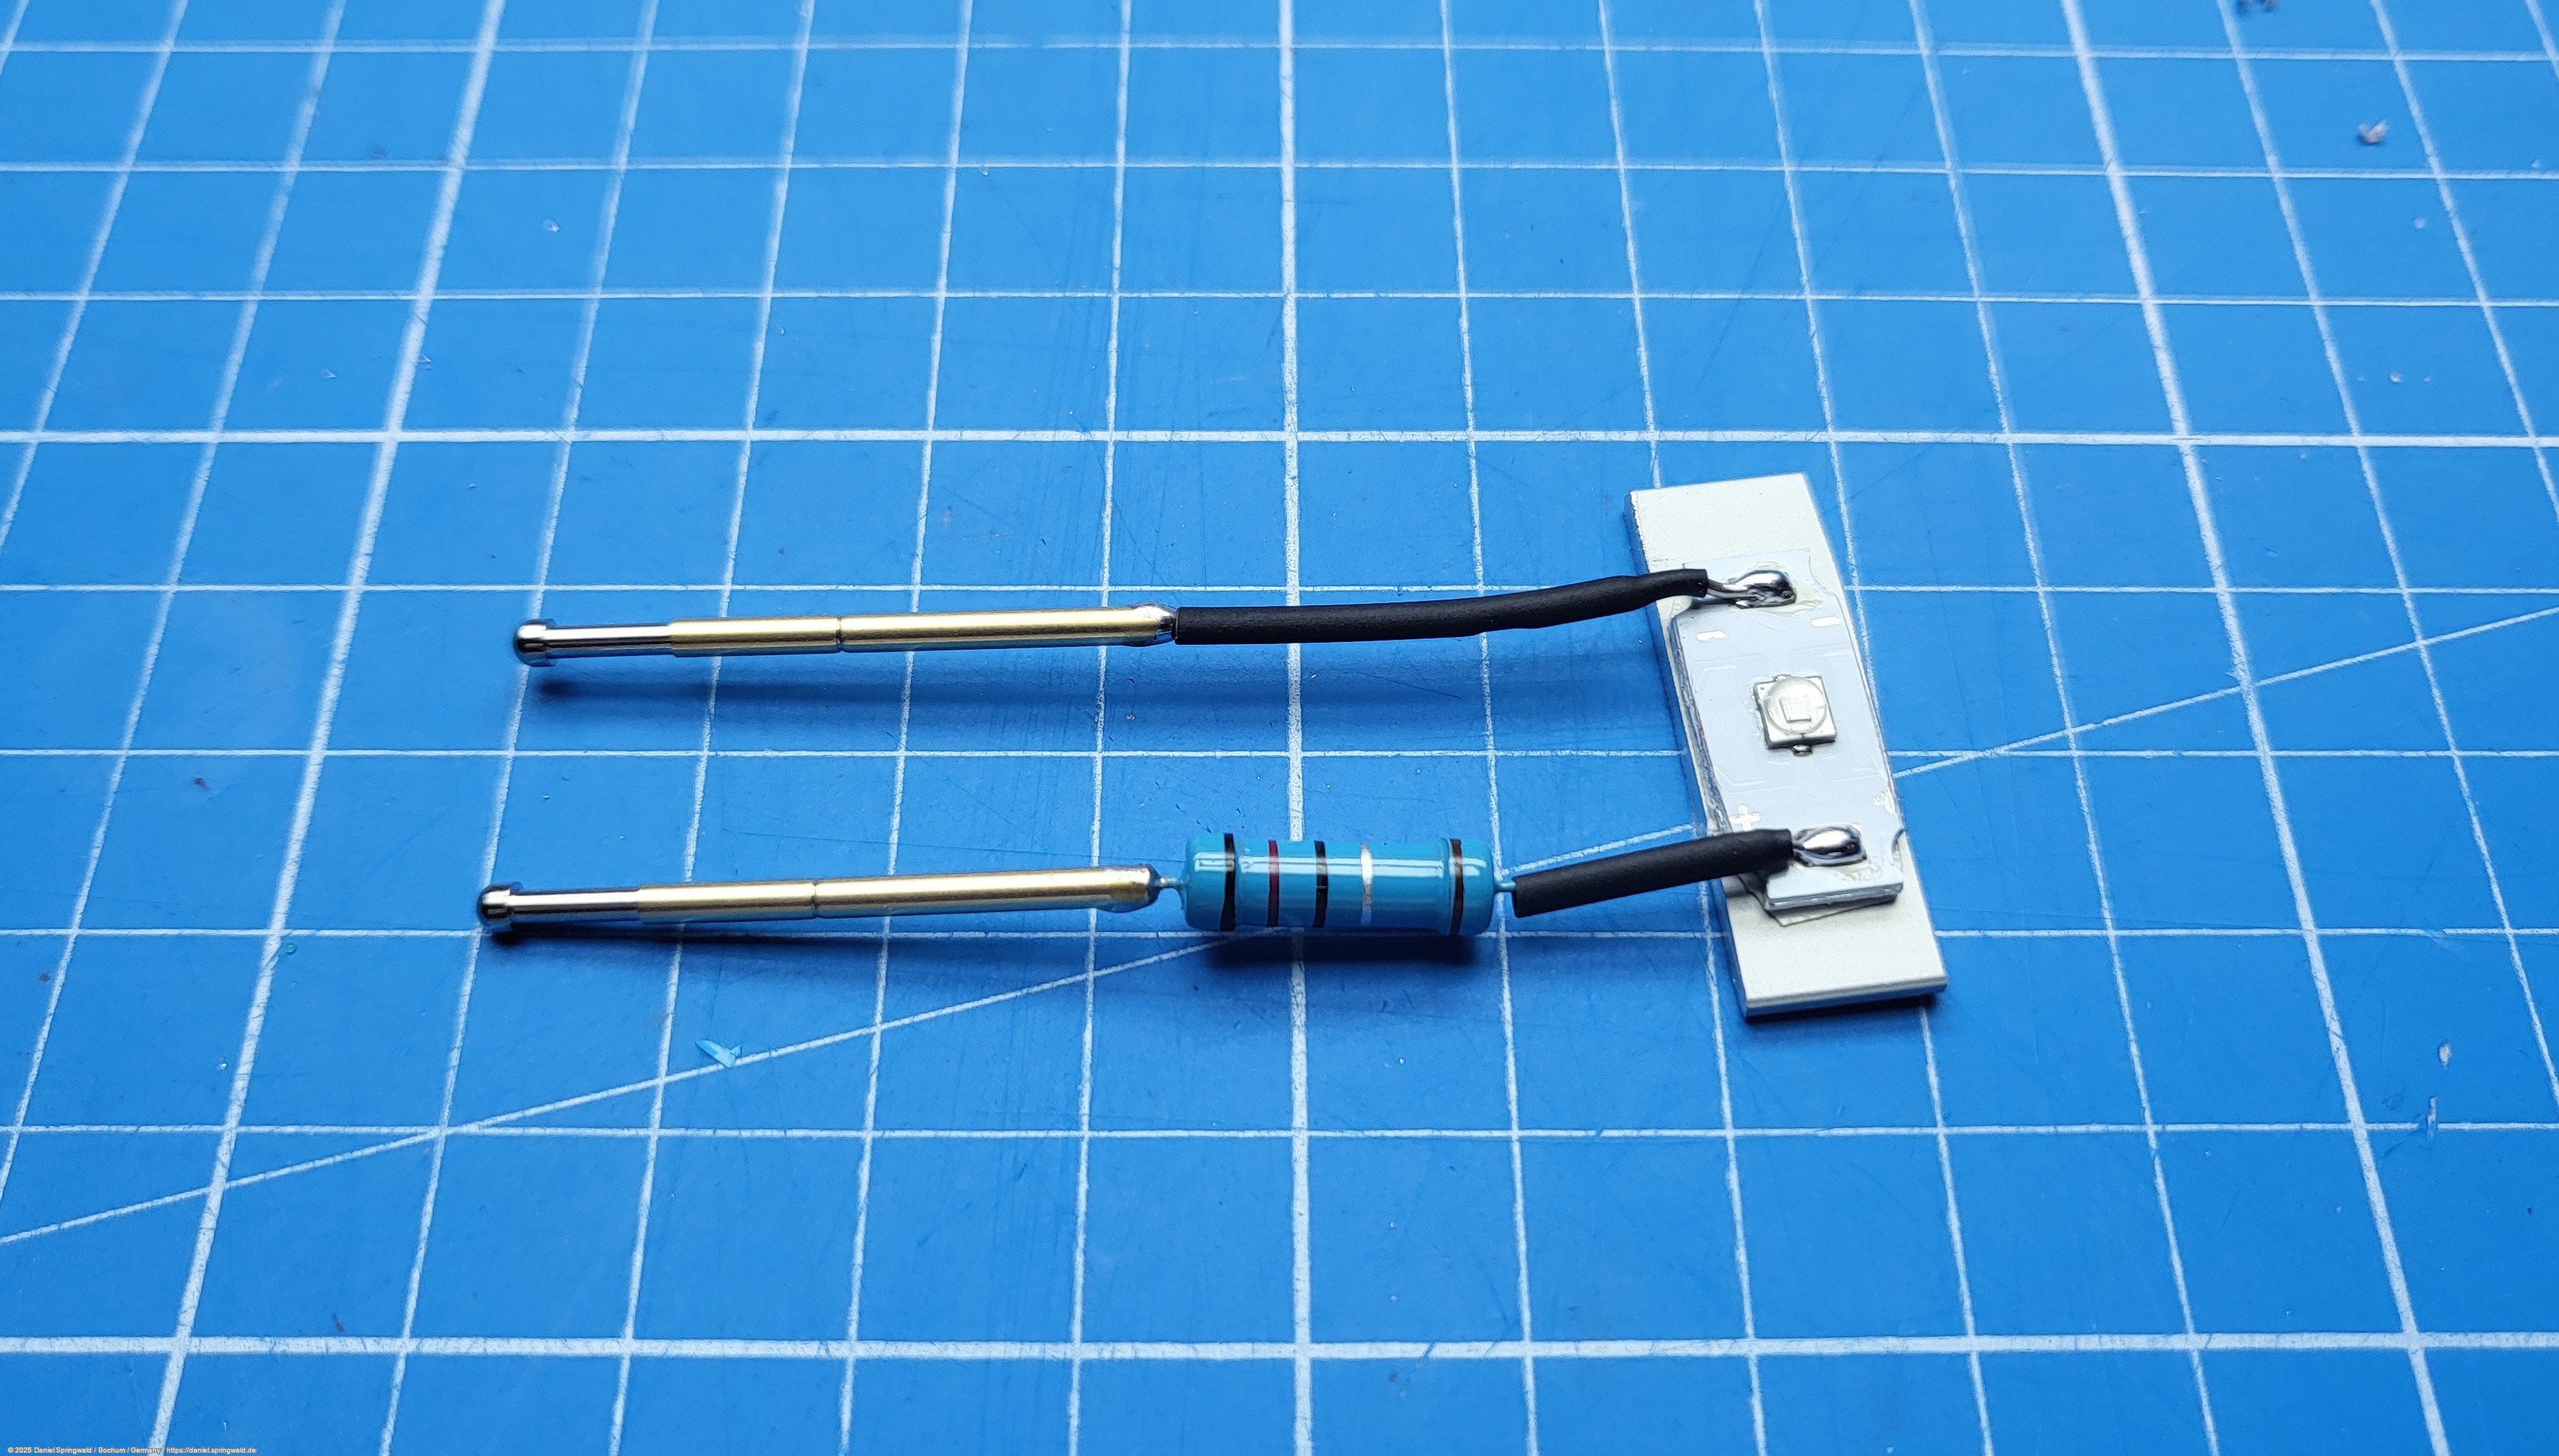
The escaping smoke gives the fire actual volume, so that you can see it well from the side, even if you don't look directly at the LED.
The front part of the barrel must be removable to fill up the liquid in the coil. Therefore, it made sense to produce several variants with different LED colors. Currently, you can choose between red and blue.
Presentation Racks
Since the blaster is also supposed to be exhibited sometime, I built a stand from laser-cut and 3D-printed parts. Simply plug the blaster into the stand:
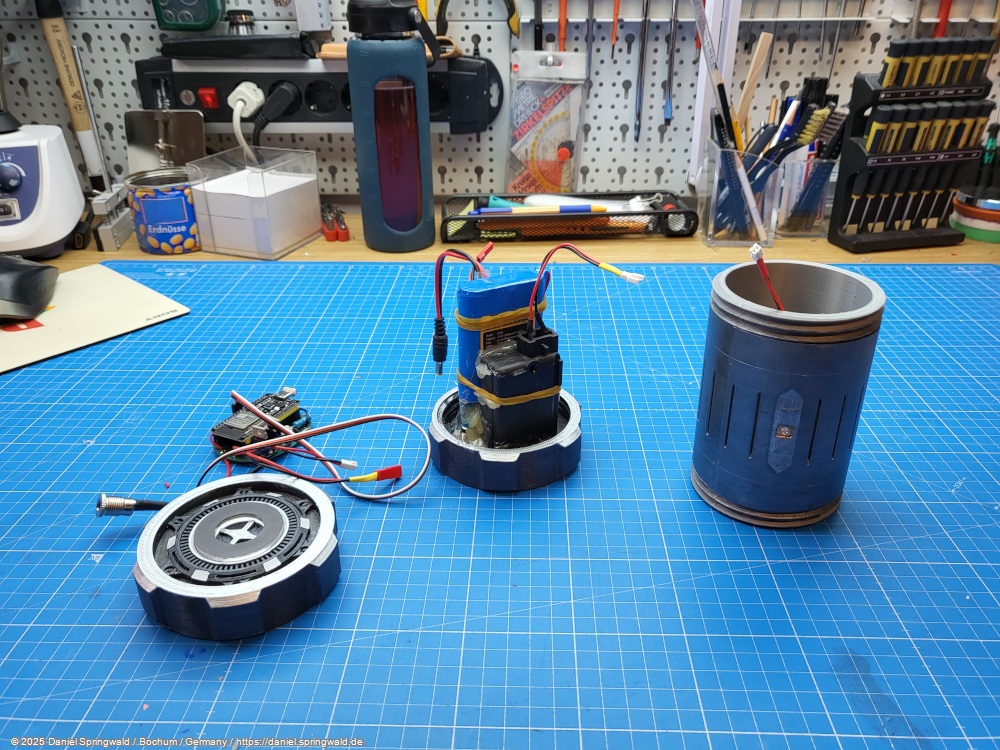
Bonus: A Killable Target
Now that the blaster has some visual effects, I wanted to add a more physical effect. The idea was to place a target object in a place in the room (before) and then shoot at it with the blaster. The target object should then fall over due to a hit. As a case I used the 3D printed Star Wars Storage Cylinder by AxeKando on Thingiverse. To knock over the target, I used a servo motor from a car central locking , which it can get as a spare part for as little as 10 euros. The Storage Cylinder also contains an ESP32, which receives the signal from the blaster via WLAN to fall over.