 Daniel
 deutsche Version anzeigen
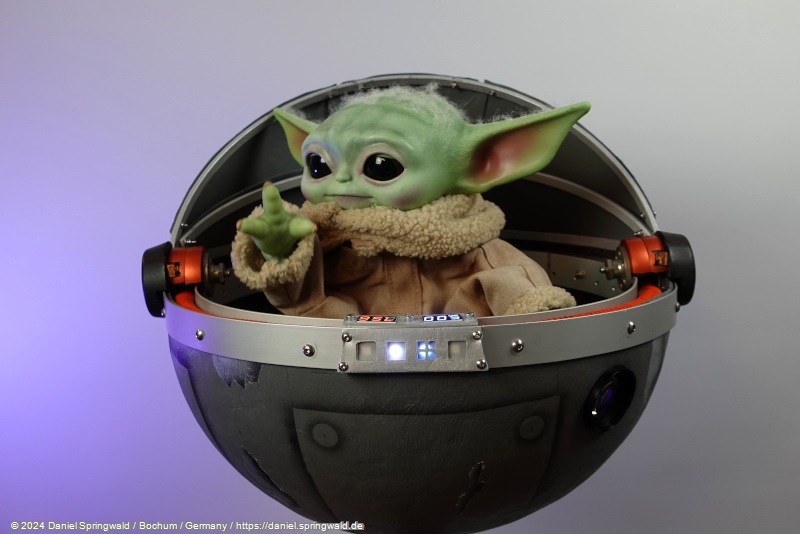
From a toy to a "living" Grogu in 3 weeks
When I watched the series "The Mandalorian", I was immediately hooked on Grogu, the little green creature protected by Mando. It quickly became clear that I also wanted to have a "living" Grogu - and what could be better than building an animatronic version myself?
Youtube video
There is already a short YouTube video about the project:
The plan
First, of course, you need a plan 😉.
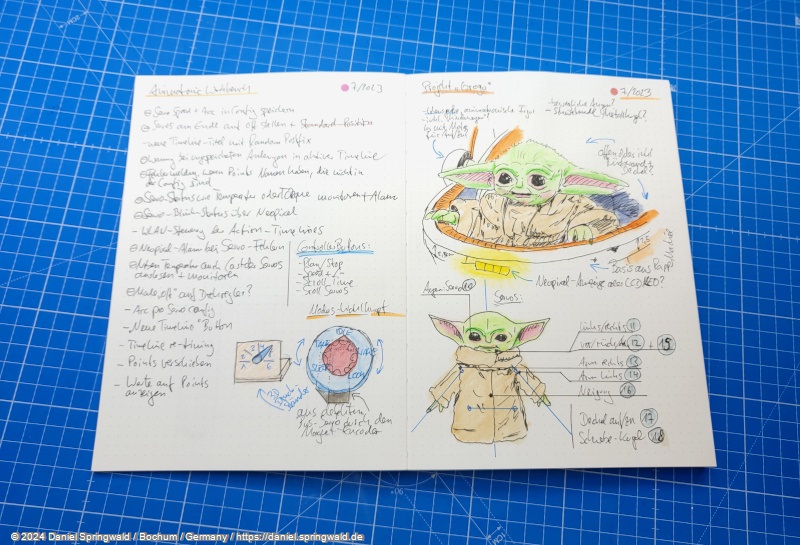
Unfortunately, I didn't watch the series until a month before Makerfaire 2023. However, so that Grogu could not only be at my booth at the Makerfaire the following year, the time frame for the implementation was quite tight. This made it clear that I couldn't start with my own 3D printing, but had to fall back on a toy that I could rebuild. I would have liked to have made the head myself out of silicone, so that it could also move the ears - but even that would have been utopian in terms of time. As a compromise, the animatronic Grogu can only move his eyes on his head, but that's a start.
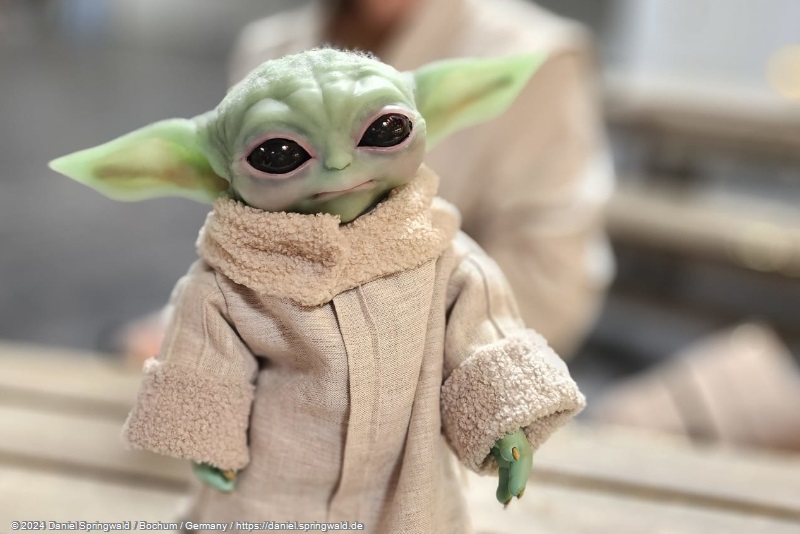
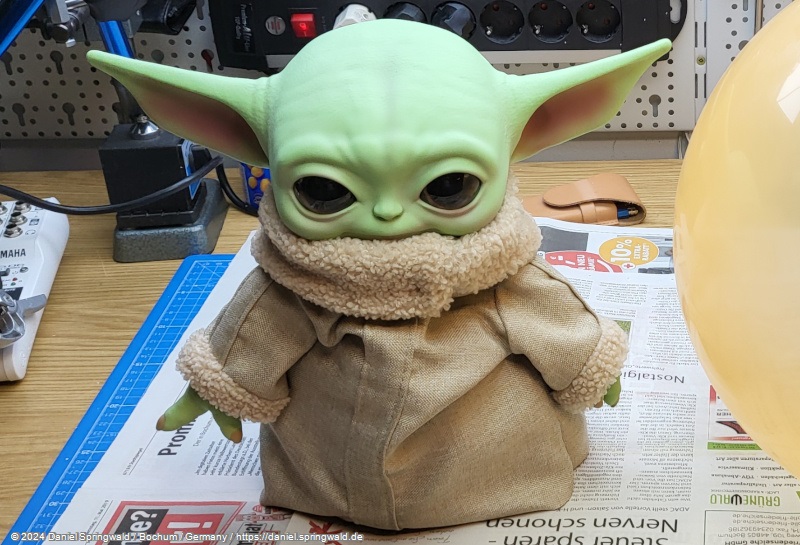
Base material: A toy
There are numerous life-size Grogu figures to buy: For 15 euros you can already get a 30cm tall toy figure , which is suitable for conversion. If the eyes should also be movable, there are figures from 40 euros . You just have to be a little careful that you don't get hands made of fabric, but of rubber.
Of course, these toys don't really look real, so they still need some rework.
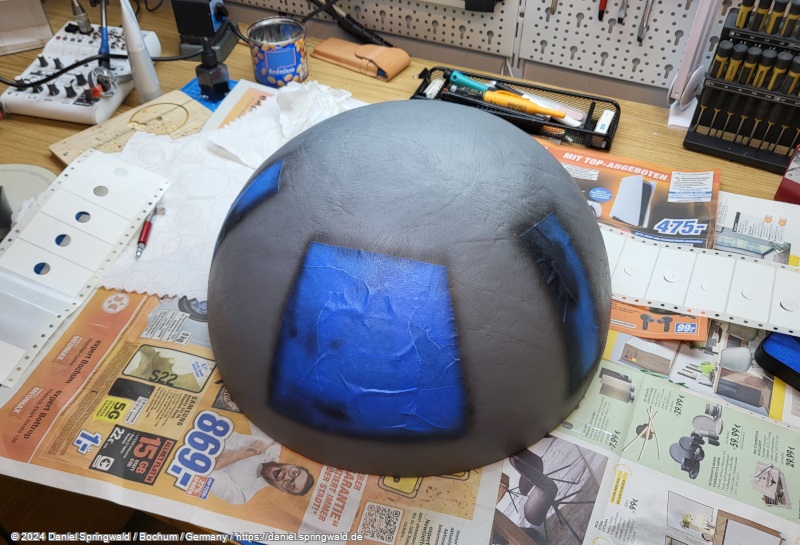
To make the head a little more lifelike, a little paint, airbrush gun and cotton wool is enough:
The head before and after
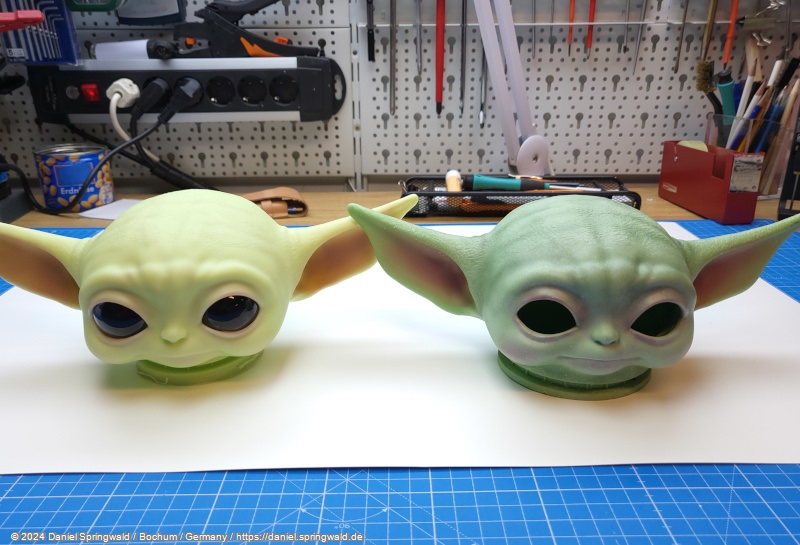
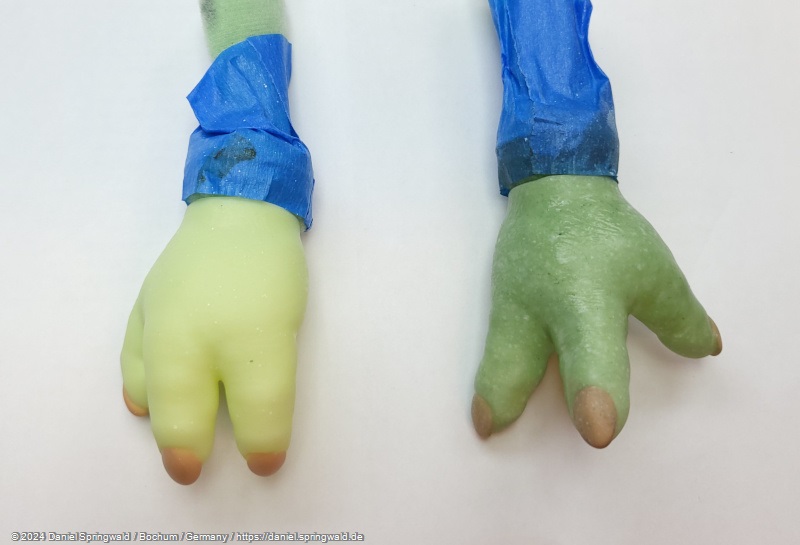
The hands also look less like plastic with a little paint
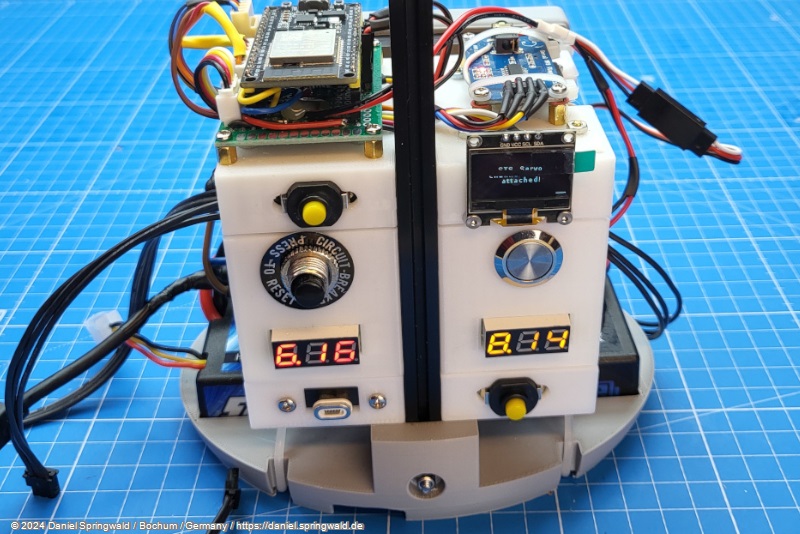
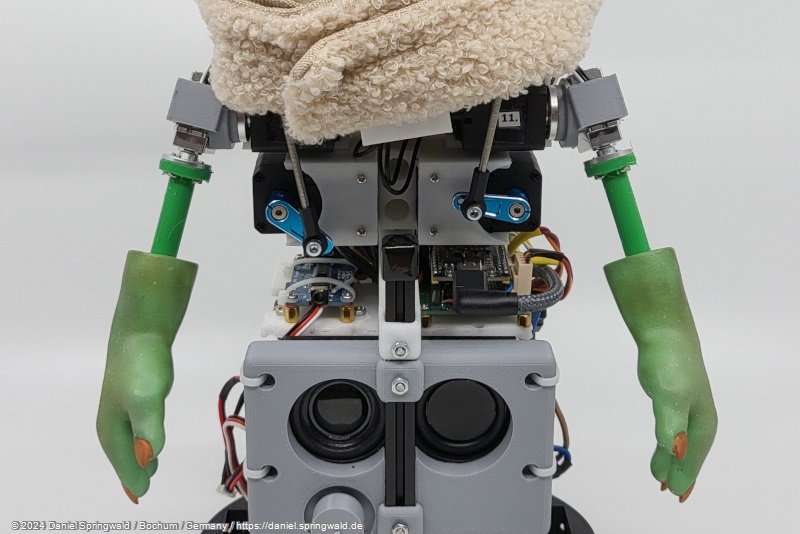
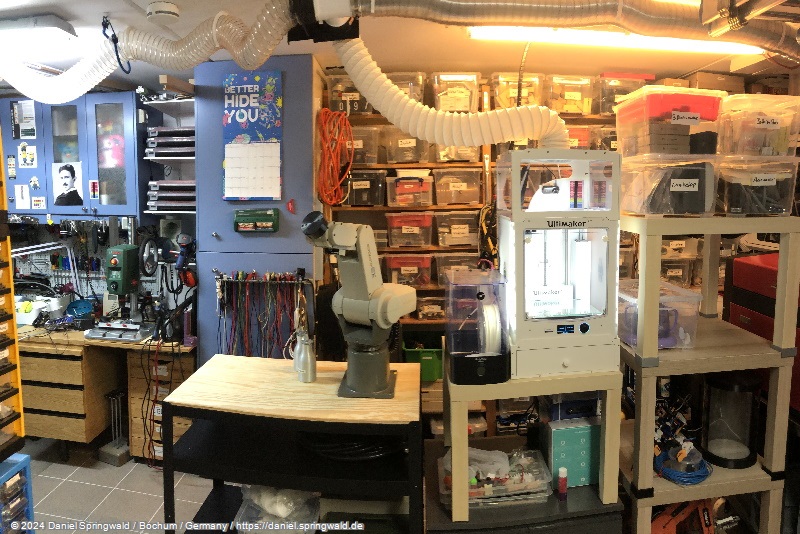
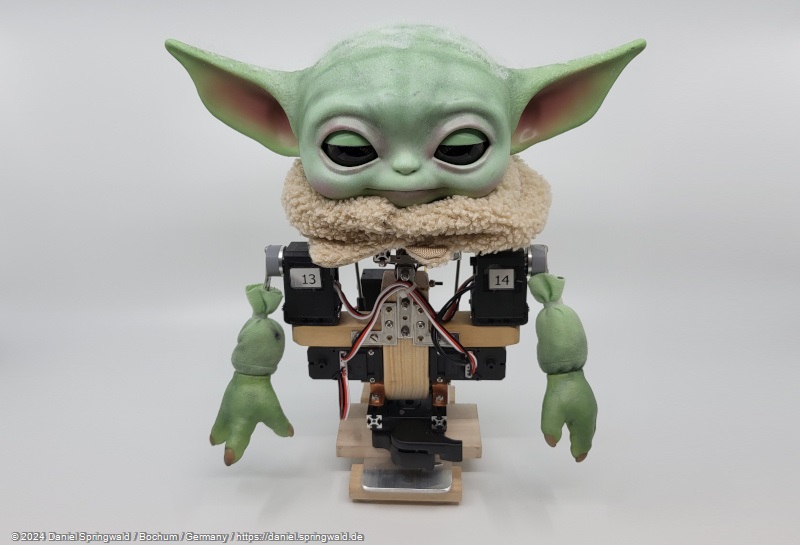
Servos and Electronics
I chose an ESP32 as the basis for the movements, as I have already had good experiences with it and it also offers enough power to control the servos. The board from Waveshare already comes with a three-pin connector for controlling the serial servos and a suitable input for the servo voltage. This eliminates the usual soldering and additional circuit boards or electronics in this project - you can simply plug everything into each other.
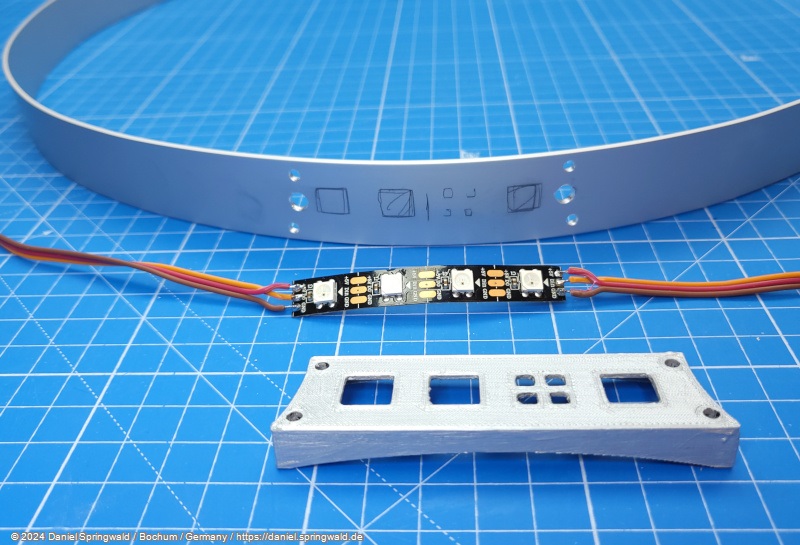
The board also includes two RGB LEDs and an external connector to connect more LEDs. This was later very helpful for the construction of the transport sphere.
Animatronics
A total of 7 servos are responsible for the movements of the figure:
- 1 x Eyes open/close
- 1 x Head Rotation
- 2 x head tilt
- 2 x Arms
- 1 x Forward/backward bend
As an outlook, I have an eighth servo in mind, which could make Grogu's metal ball "float" interactively.
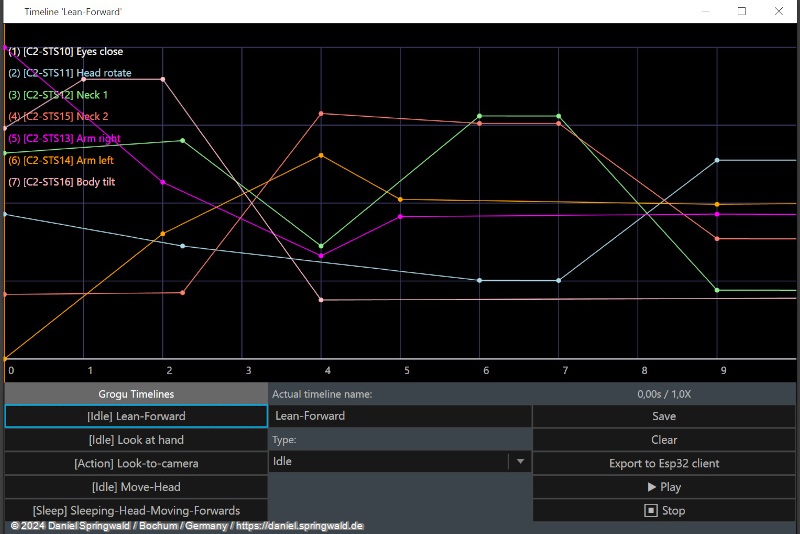
Animations with Animatronic Workbench
In my previous animatronics projects, I always had a lot of fun with the hardware, but then I didn't put so much energy into programming the movements. That's a shame, because it's the movements that make the characters come alive. The reason for this was that it really is programming, i.e. every movement had to be written in program code. This is quite tedious, often looks choppy as a result and has to be recompiled and started again and again to try it out.

For this reason, I have used the open source software Animatronic Workbench.
This allows you to create the movements of the animatronic character on the screen without any programming knowledge.
As an input device, the software uses midi mixer controllers, which can be connected via USB and which can be bought for less than 100 euros.
This allows you to move through the timeline of the respective animation and control the rotations of the servos very haptically by means of rotary or slider controls.
The changes are transmitted directly to the animatronic figure via USB or WLAN, so that it can move directly live.
Subsequently, the movements can be stored directly in the microcontroller, so that the figure can move autonomously completely without a connected computer and only needs a power connection.
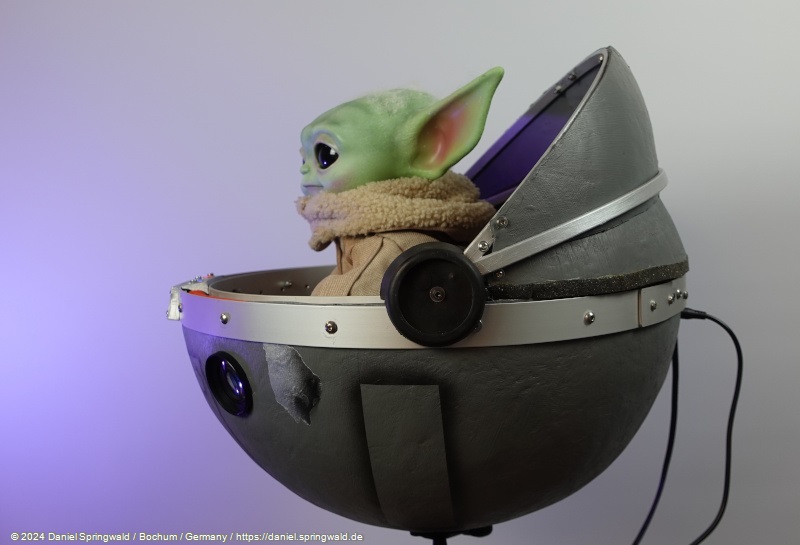
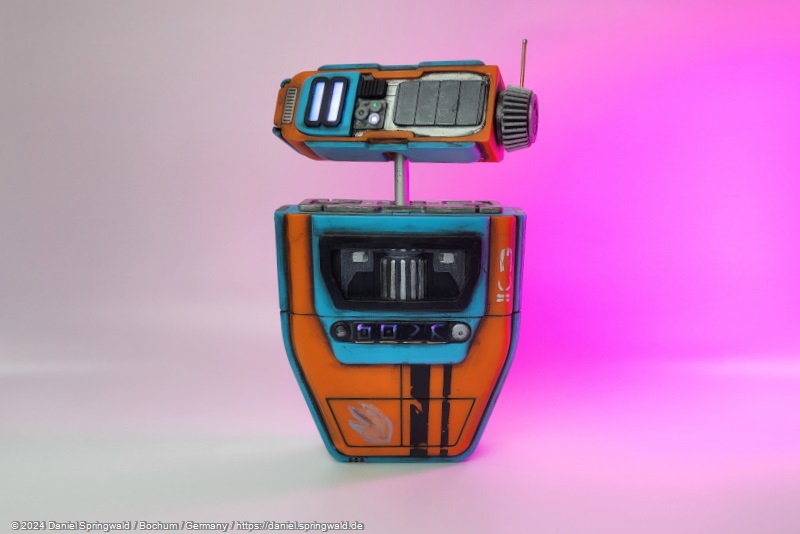
Bonus: Grogus Transport Ball
In the end, there was still enough time left before the Makerfaire to recreate a simple version of Grogu's flying "stroller".
The basic shape is made of papier-mâché, which is applied to a large balloon.
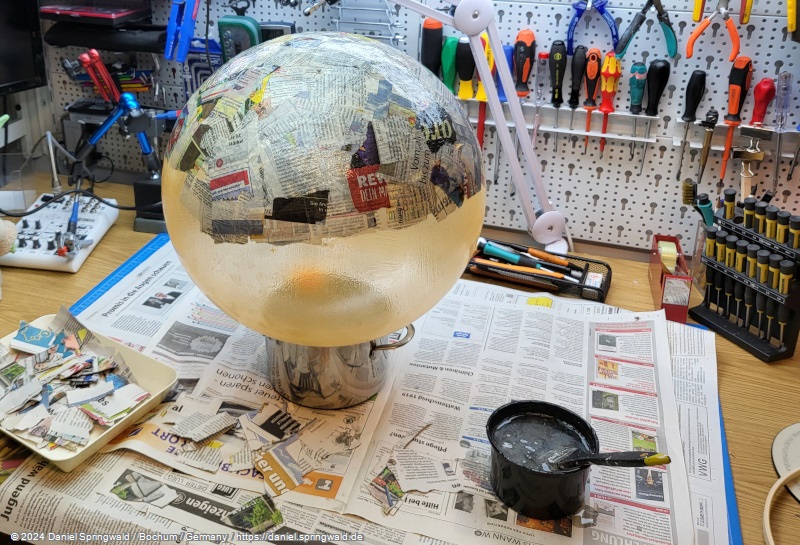
The papier-mâché took over a week to dry and then had to be painted and sanded three times - so it was good that I had already started with it parallel to the Grogu figure.
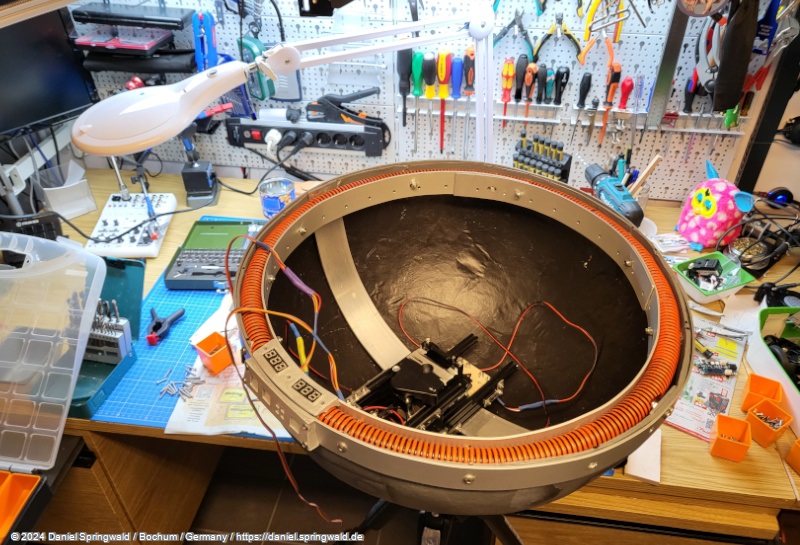
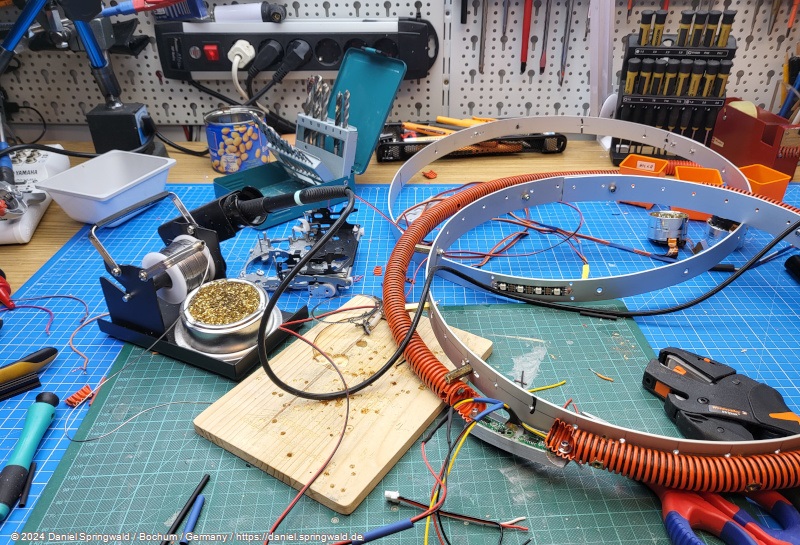
For stability and to attach a stand, the shell is supported by an aluminum construction.
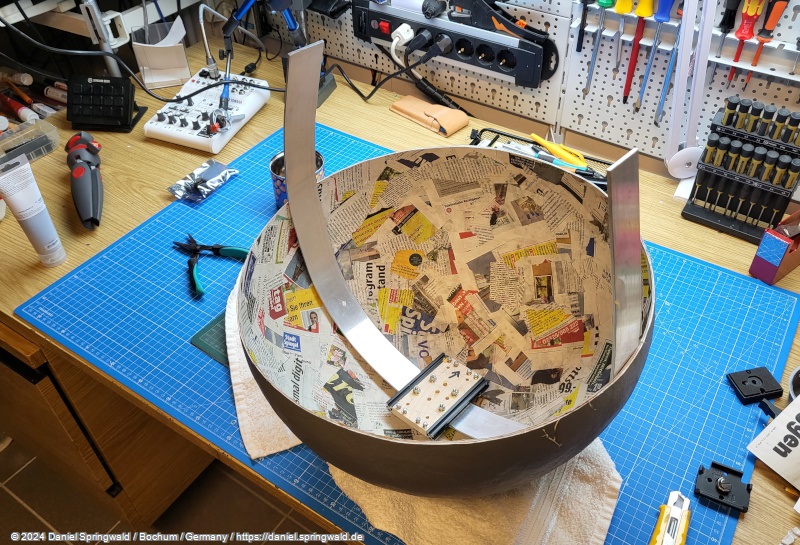
As with the Grogu figure, I had to improvise a lot with the transport ball and primarily use materials that were already available in the workshop. Among them are orange installation hoses, strips, screws and lots of acrylic paint.
Accents and aging effects are applied with airbrush.
A few RGB LEDs complete the look and make it more lively.
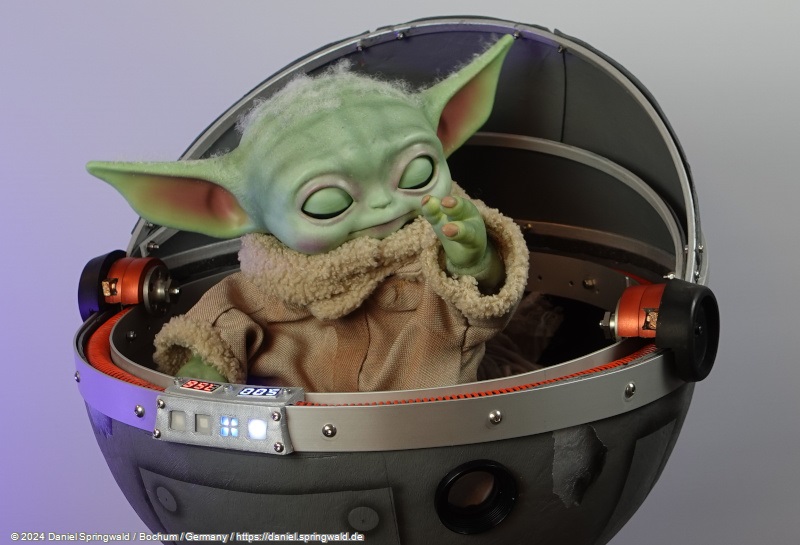
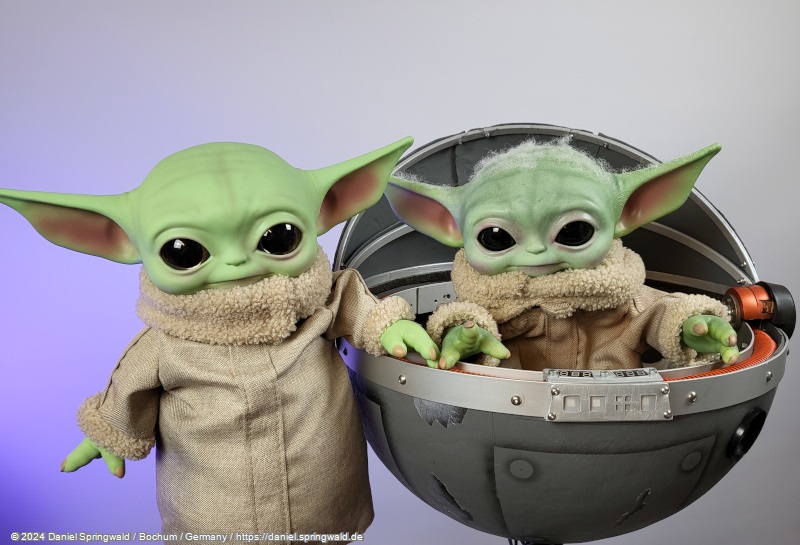
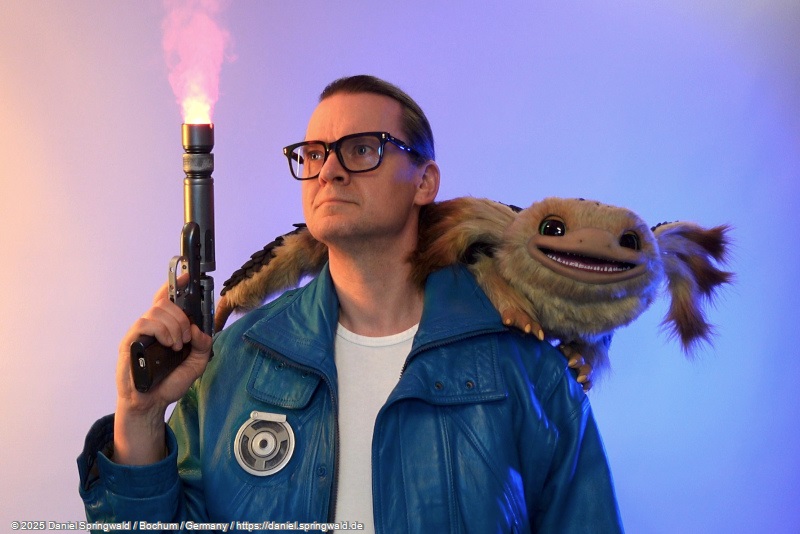
Impressions
Here are a few more pictures of the figure and the transport ball.