 Daniel
 deutsche Version anzeigen
This is an article from the Animatronic WorkBench Documentation
When setting up a project, the following settings are available:
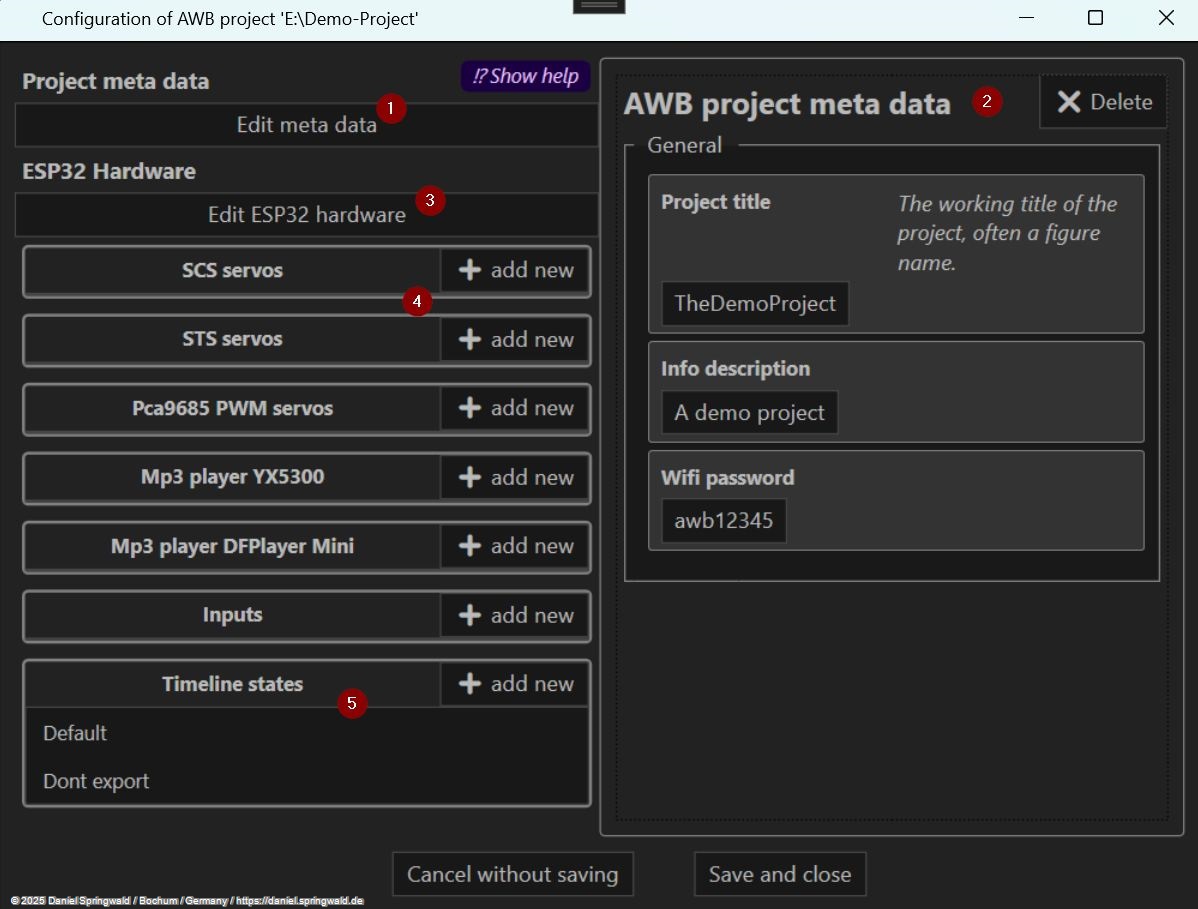
- Metadata: Edit the name, description and Wi-Fi password of the project.
- Value Editor: Here you can edit individual values of servos, actuators or the project itself.
- ESP32 Configuration: Here you can configure the settings of the ESP32 microcontroller, which controls the movements of the animatronic characters. These include configuring the serial port for STS/SCS servos, configuring the PWM controller for PWM servos, and configuring the NeoPixel bus for RGB LEDs.
- Add and configure hardware: This is where new hardware components can be added to the project and configured. These include STS/SCS servos, PWM servos, NeoPixel and inputs.
- Timeline States: Here you can create new timeline states and edit existing ones. Timeline states are categories for timelines that group the movements of the animatronic characters.
STS / SCS Servos
STS and SCS servos are special servos that are controlled via a serial interface. Such serial bus servos have the advantage that they do not have to be wired in a star shape, but can simply be attached to the bus one after the other. At the same time, they can also report their status (current position, temperature, torque) instead of just receiving the target position. They are not compatible with classic model making servos that are controlled via PWM. Well-known suppliers of STS/SCS servos are for example WaveShare or Feetech. With STS servos (in contrast to SCS) the acceleration can be adjusted in addition to the speed.
Serial servos can be added in the configuration of the project. At the same time, the serial bus must be configured in the settings of the ESP32 microcontroller by specifying the GPIO pins for RX and TX.
PWM Servos
PWM servos are classic model making servos, as they have been used since the 1970s. They are controlled by a PWM signal that indicates the target position of the servo. The position is then determined by the pulse width of the signal and each servo must be connected directly to the controller with its own cable.
To use PWM servos, a PWM controller must be connected and activated in the settings of the ESP32 microcontroller.
NeoPixel
RGB LEDs can also be used to provide an animatronic figure with lighting effects. These LEDs can be controlled individually and thus generate, for example, a running light or a color-changing animation. The control is carried out via a digital bus, which is controlled by a controller (for example an ESP32).
To use NeoPixel, the settings of the ESP32 microcontroller must specify the GPIO pin to which the data-in pin of the first LED is connected.
Inputs
Individual PIns of the ESP32 can be configured as inputs, for example to connect switches or sensors. Inputs can be used as conditions in the timelines, for example, to execute a motion only when a switch is pressed or a person stands in front of the character and triggers the motion detector.
In practice, this works like this, you can specify per timeline state which inputs must be active in order for the timelines of this state to be played. At the same time, you can specify for each timeline for which active inputs a timeline state is not activated.
Sounds complicated? Let's take a practical example:
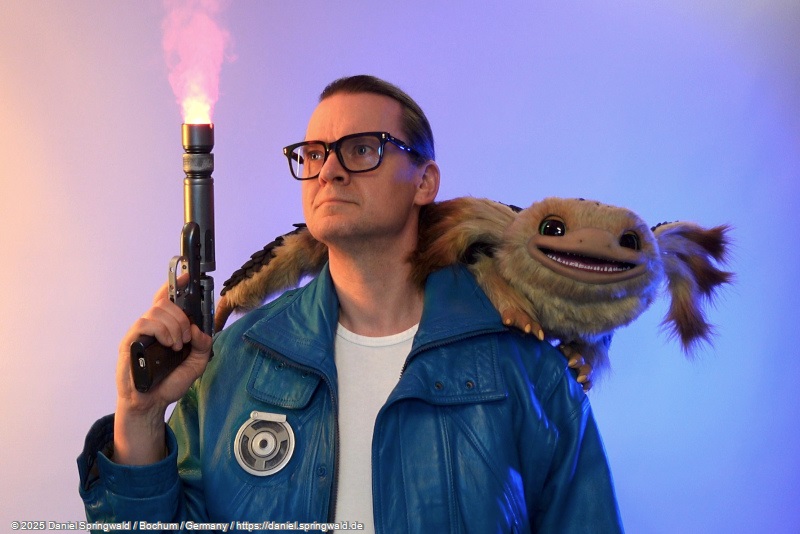
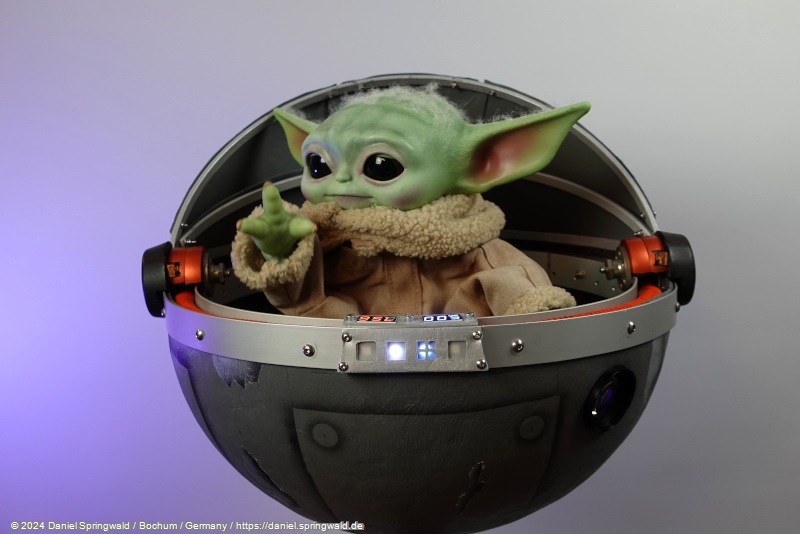
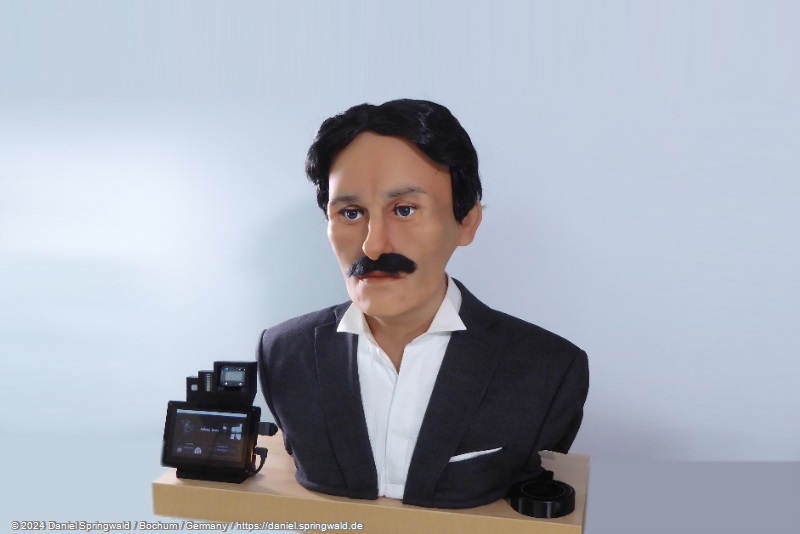
My animatronic Grogu can either stand at the table or be in the shoulder bag. In the bag, he should only make movements in which the arms are raised, otherwise they would be damaged. On the table, he is supposed to let his arms hang down.
To do this, I created a number of timelines with the arms on top and others with the arms on the bottom. At the same time, the project has been given two timeline states, namely "InTasche" and "Stand", to which the timelines have been assigned accordingly.
Now the input comes into play: Grogu has a secret switch that you can turn on and off. The timeline state "InTasche" has this switch set as positive input and the timeline state "Stand" as negative input. This means that when the switch is activated, only the timelines with the arms at the top will be played, and when the switch is disabled, only the timelines with the arms at the bottom will be played.
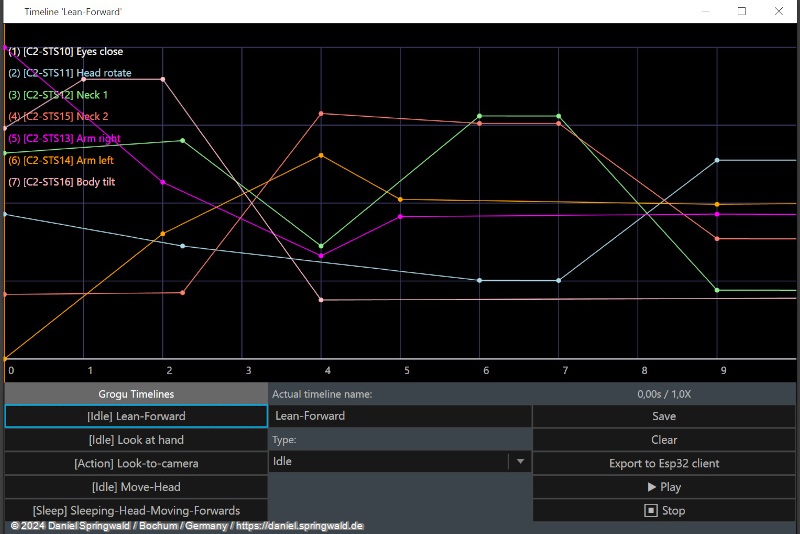
Timeline States
Movements of the animatronic characters are stored in Timeline. A timeline can be assigned to a timeline state, which can be seen as something like a topic or a rubric.
Examples of timeline states could be "sitting," "sleeping," or "standing." Via the timeline state "Sleep" you can find all timelines that contain a sleep movement.
For a new project, the following timeline states are already pre-filled:
- "Default" - Default timelines
- "DontExport" - timelines that should not be exported. These can be timelines that are not quite finished yet or that are stamped into other timelines as "nested timelines".
However, the pre-filled timeline states are only suggestions and can be renamed or deleted at will.