 Daniel
 deutsche Version anzeigen
This is an article from the Animatronic WorkBench Documentation
The Animatronic Workbench (AWB) offers the possibility to control animatronic characters via WLAN. The corresponding HTTP API calls are described in the API documentation.
Remote control can therefore be carried out, e.g. on a PC or mobile phone, directly via a web browser, by sending the corresponding API calls to the AWB client.
But you can also build a remote control from an ESP32 microcontroller and a joystick or keypad, for example.
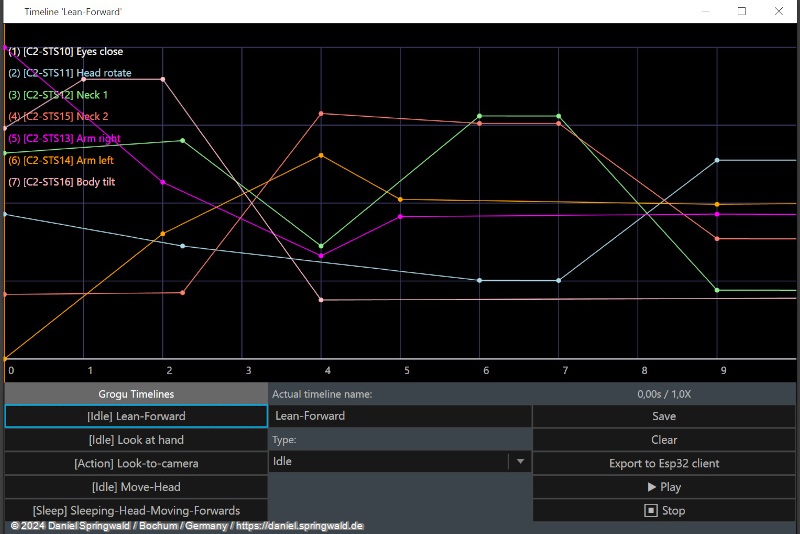
Example
This example shows the remote control of the Animatronic Grogu via a M5Stack M5StickC PLUS2 with Mini JoyC HAT.
The code responds to the joystick movements and keystrokes to play different timelines.
When exporting the project, the corresponding ESP32 project is automatically created in the folder 'Esp32Clients/awb_esp32_remote-M5Stick-Mini-JoyC-HAT' of the AWB project.
Adjustments can be made in the 'CustomCode.cpp' file, which is located in the 'src' folder of the project. This works the same way as for the AWB Client and is described in the Custom Code documentation.
In the example, the code in the file 'CustomCode.cpp' will look like this:
#include <Arduino.h>
#include "CustomCode.h"
#include <Hardware.h>
/*
    Enter your custom code in this cpp file and the corresponding header file.
    Only write code beween the cc-start and cc-end comments, otherwise it will be overwritten and lost.
*/
void CustomCode::setup()
{
    /* cc-start-setup - insert your setup code here before the end-setup comment: */
    /* cc-end-setup  */
}
void CustomCode::loop(int8_t joyPosX, int8_t joyPosY, bool joyButton, bool button2, bool button3)
{
    /* cc-start-loop - insert your loop code here before the end-loop comment: */
    if (joyPosY > 50)
        this->_commandSender->playTimeline("YES");
    if (joyPosY < -50)
        this->_commandSender->playTimeline("NO");
    if (joyPosX > 50)
        this->_commandSender->playTimeline("LookUpRight");
    if (joyPosX < -50)
        this->_commandSender->playTimeline("LookUpMiddle");Q
    if (joyButton == true)
        this->_commandSender->playTimeline("Wink");
    if (button2 == true)
        this->_commandSender->playTimeline("The+Force+raw");
    if (button3 == true)
    {
        bool ok = this->_commandSender->playTimeline("Dance");
        if (ok == true)
            _display.pause(40, "Dancing lock");
    }
    /* cc-end-loop  */
}
/* cc-start-functions - insert your functions here before the end-functions comment: */
/* cc-end-functions  */
For example, in this example, the timeline "YES" will play when the joystick is moved up, and the timeline "NO" will play when it is moved down.
The LookUpRight and LookUpMiddle timelines play when the joystick is moved to the right and left, respectively.
When the joystick button is pressed, the "Wink" timeline is played. Keys 2 and 3 also trigger certain timelines.
The timeline "Dance" is a stage performance. Therefore, a pause of 40 seconds is taken to prevent other timelines from being sent by mistake during this time and the "Dance" timeline from being canceled.